More than two years ago, we moved to the countryside to get closer to peace and nature. We have never regretted our decision once.
But we still had some unforeseen surprises, including one that occurred during the first summer. Then the second. And which will come again a third time with the upcoming sunny days…
This something may seem trivial but when you have a lot of it, it gets really annoying (to not say another word). Those who live or have lived in green in French-speaking Switzerland will understand that I’m talking about flies! And mosquitoes too! Two companions we did not have at the time we lived in Yverdon (thank you pollution :)).
I still hear some neighbors saying: “Welcome to the countryside!”
Something so small, which can cost you so much (like CHF 4'000)!
At first I thought that the flies + mosquitoes episode was going to quickly end (we are talking about summer in French-speaking Switzerland, come on). The second year was just as unpleasant. I hence looked for mosquito nets, telling me that the problem would be solved with a phone call to a contractor who would come and install them.
But then, the “shock”: we got announced an amount of CHF 3'949.85!
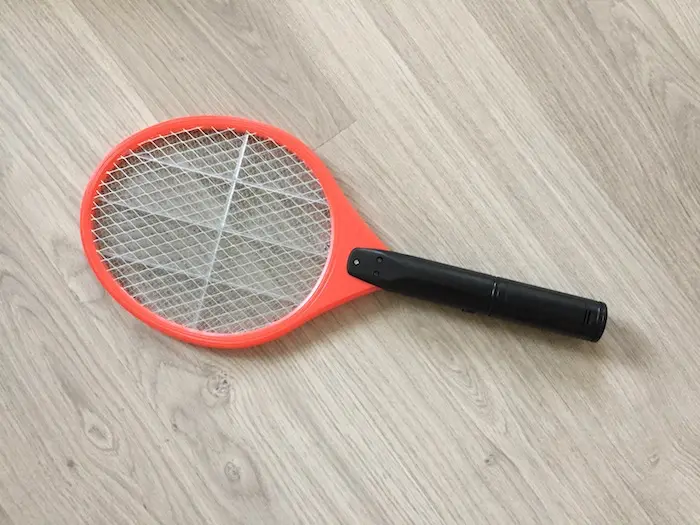
So we decided to spend the summer with a fly swatter from Jumbo for the modest sum of CHF 9.50 :)
The problem is that with the heat of the summer, we often opened the windows, and we ended up with 20-30 flies a day. Cool thing when you eat. And I don’t speak about the “traces” left by these visitors on white surfaces like our brand new ceiling!
As for the night, I don’t draw you a picture of this unbearable noise and itching when waking up. So, no choice but to play tennis at 2:30am…
We nevertheless hold up the entire summer but in September, I said “I don’t spend a summer like this again!”
And April came again, with its sunny days.
At the beginning of the month I told myself “Well, I’m sure it wasn’t that bad”. Three days later, a fly entered the apartment and memories of sporty nights (spent playing tennis, right ^^) came back immediatly!
I had to find a solution.
Windhager, your anti-mosquitoes Mustachian mate
I knew that mosquito nets would cost us a lot, but at this stage I didn’t see another way of solving the issue.
I went to the “Comptoir of Yverdon” as well as several professional sites, and I stumbled upon the same figures: around CHF 4'000 (at least). This amount includes equipment, installation, and VAT for:
- 5 window mosquito nets with a vertical retractable screen = CHF 1'763.60
- 1 window mosquito net with a fixed frame = CHF 269.25
- 2 bay window mosquito nets with an horizontal retractable screen = CHF 1'917.05
- Total = CHF 3'949.90
It bothered me a lot to put this money for only four months a year.
I had once looked for mosquito nets to install yourself, but there were plenty of different models and it was not easy to find the right one.
But as a good Mustachian, I booked a Saturday morning last month to do more research on the subject with our friend Google.
By dint of perseverance to compare several sites (like Hornbach, Coop Brico + Loisirs, Jumbo, and others), I realized that the pictures of their mosquito nets were quite similar (but the prices varied by a factor of two).
Looking at the details of the references, I came across a name: Windhager. I did some research about the brand. Seen that they distributed their products all over Europe (view complete list). With good reviews on most sites. The only problem? You have to install them by yourself. First reaction: uh, I’m not that much a DIY handyman. Second reaction: no excuses, I’m a Mustachian!
The price of all these brand items was 50% off (i.e. the actual price in France…) for 2 weeks at Jumbo:
- 5 window mosquito nets with a vertical retractable screen = CHF 372.50
- 1 window mosquito net with a fixed frame = CHF 60
- 1 bay window mosquito net with slat curtains = CHF 29.90
- A file and a miter box for cutting the window mosquito nets with a vertical retractable screen = CHF 18.50
- Total = CHF 480.90
We could save CHF 3'469!
I said GO!
The first DIY project of MP
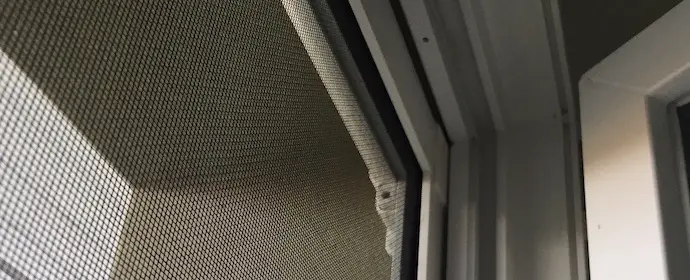
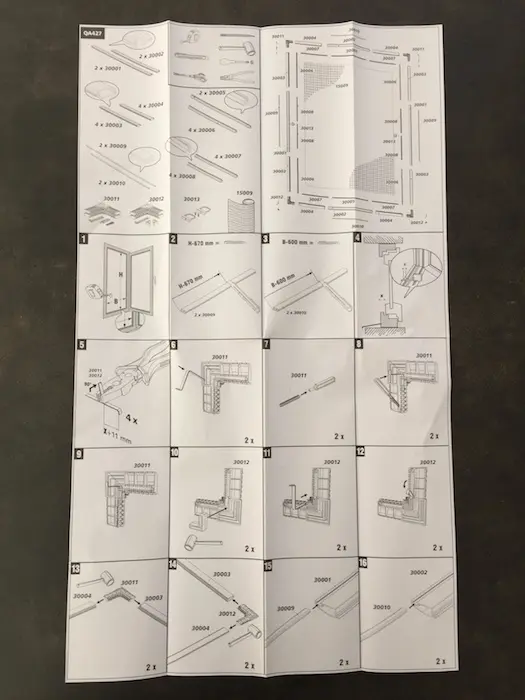
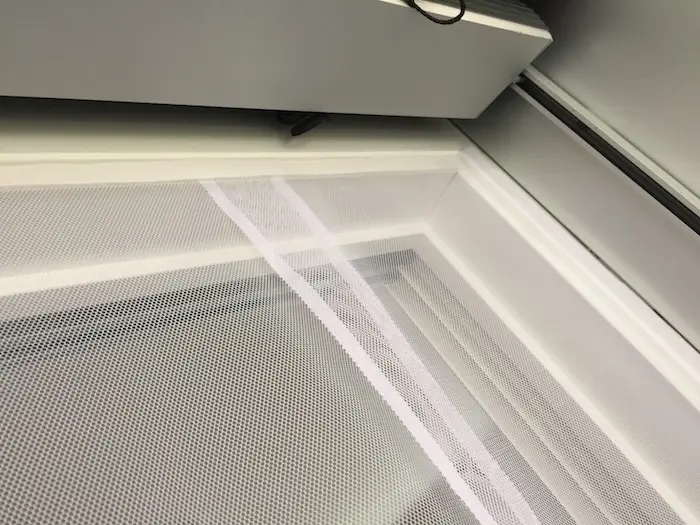
Window mosquito nets with a vertical retractable screen
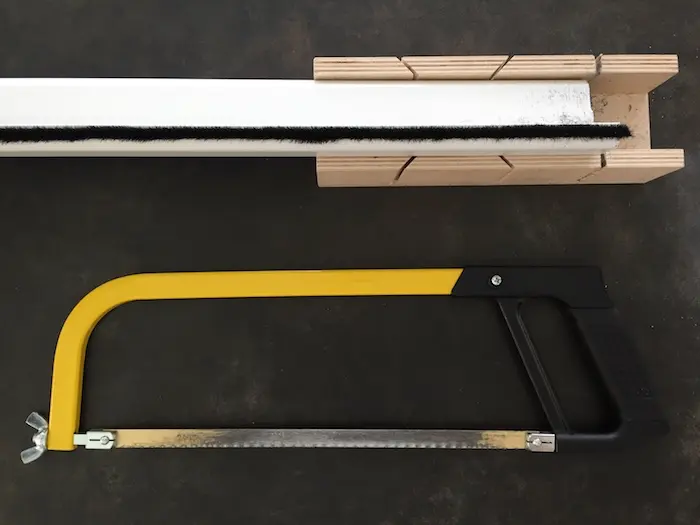
Among the three systems I could play with, this one is the hardest if you only have a hacksaw (vs. a jigsaw). But once the cut is finished to adapt the mosquito net to the right dimensions of your window, it’s a breeze.
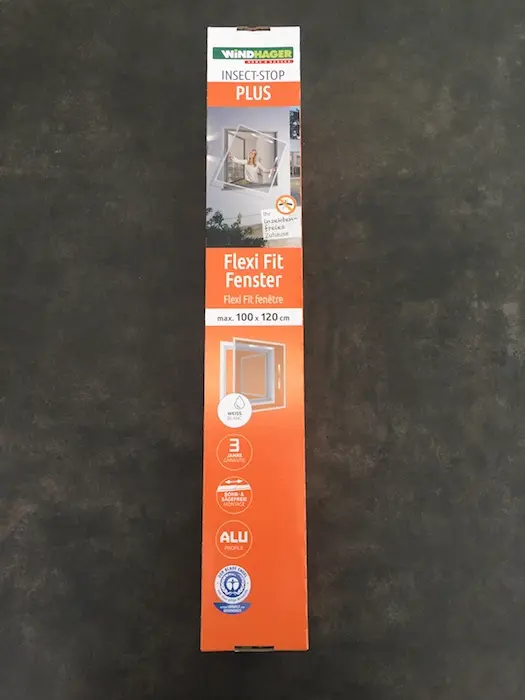
As a reference, I took the “Plus” white 100 x 160cm Windhager model.
Regarding quality, this is the model that I prefer as it’s able to fit perfectly the window size, and thus don’t let enter any mosquito.
Below are the mounting key steps:
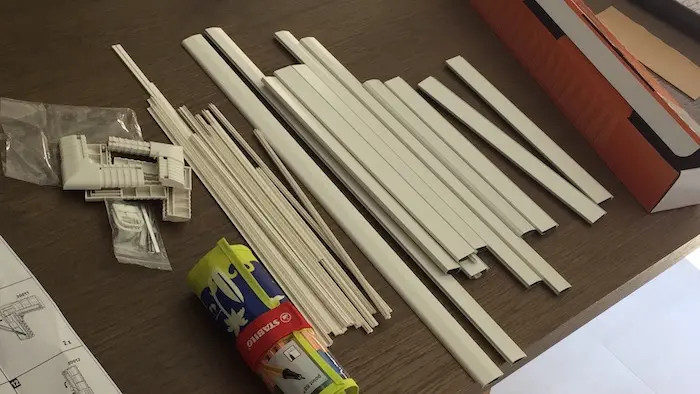
1/ The product
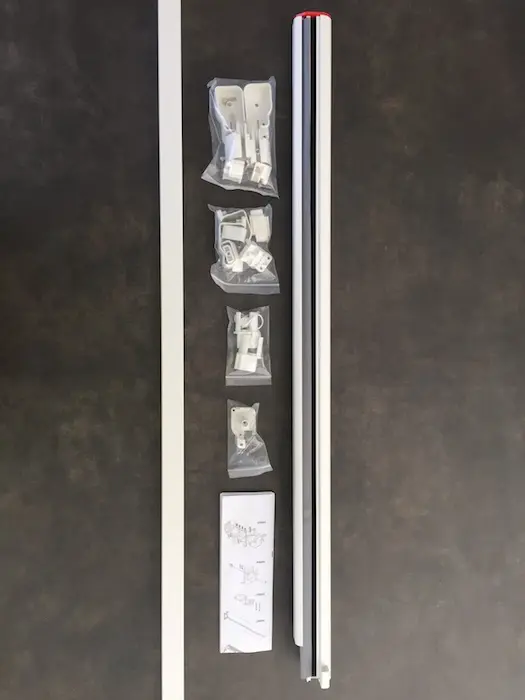
2/ The cut
3/ The assembly
4/ The mounting
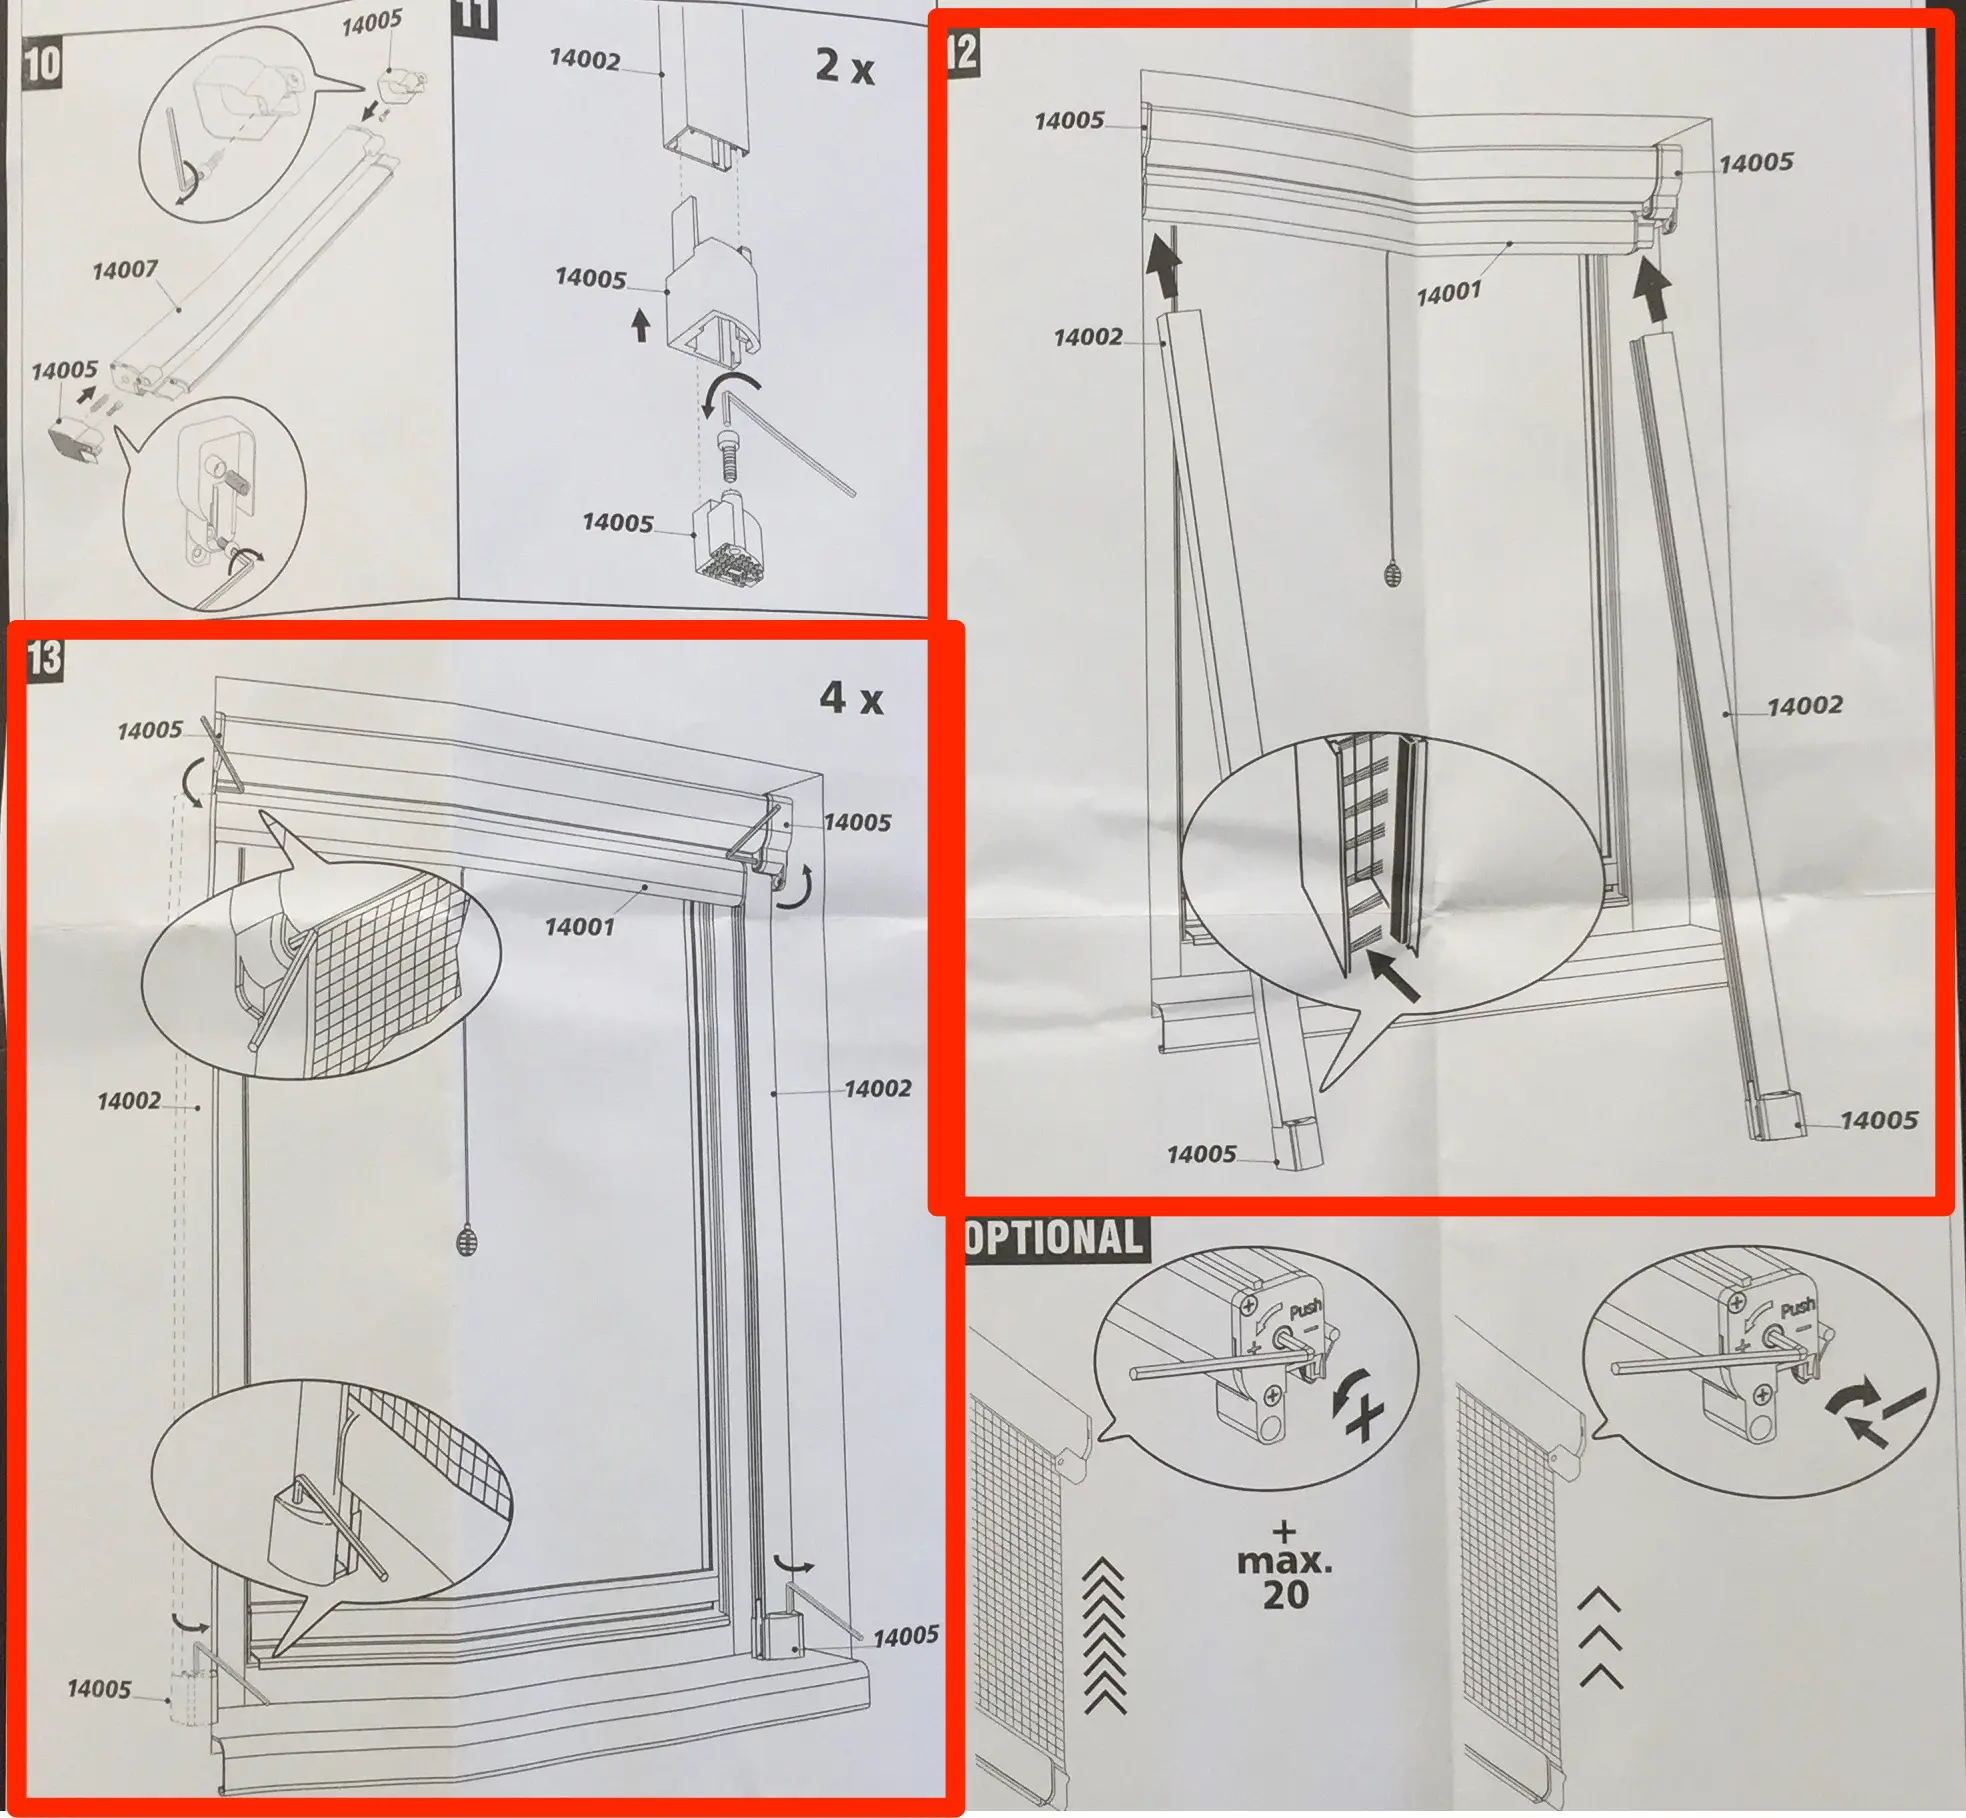
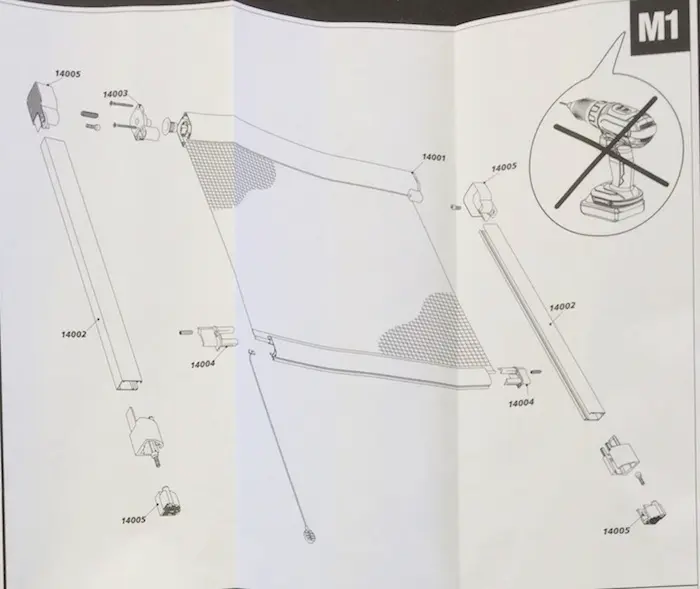
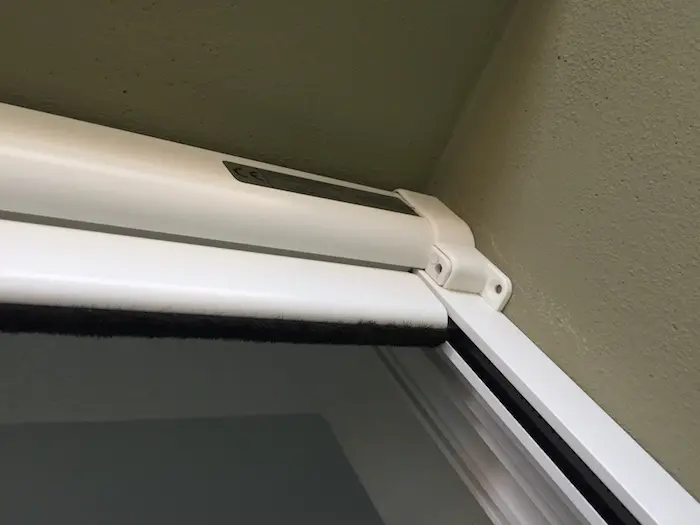
Again, a picture of the user manual — Windhager announces that you can setup the net without screwing, but it's a bit shaky so I plan to add a screw the top element, as well as two on each rail to ensure a maximum stability
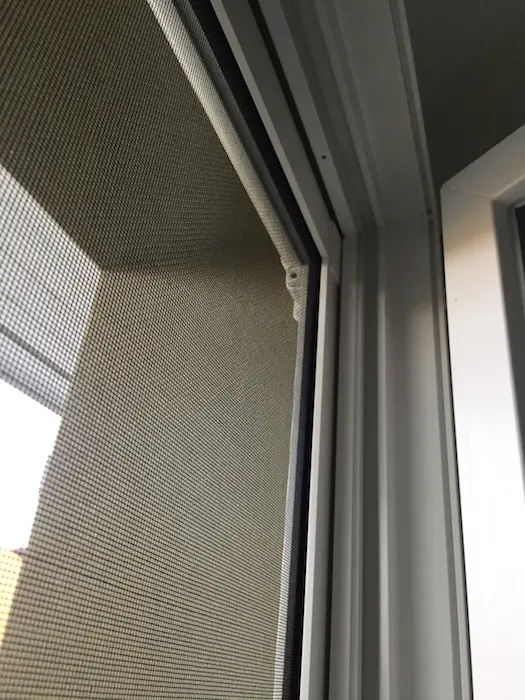
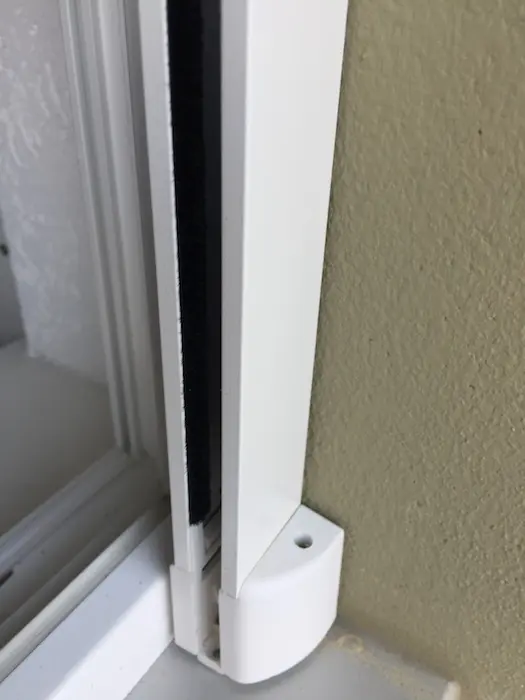
5/ The final result

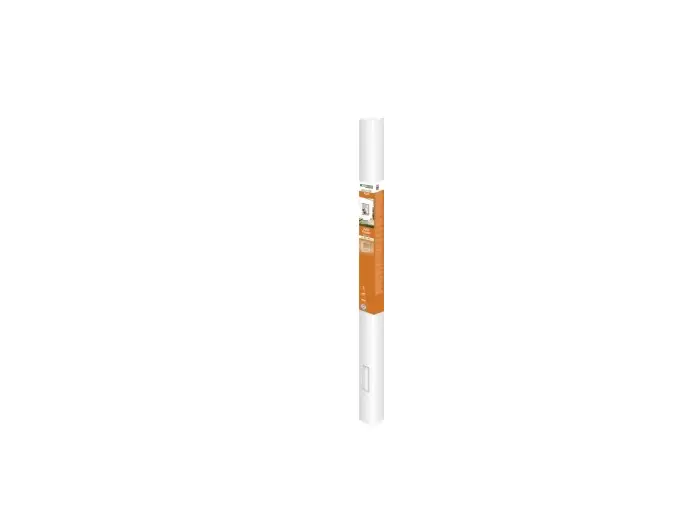
Window mosquito net with a fixed frame
For your information, I bought the model “Flexi Fit” white in 100 x 120cm on Amazon (via Windhager) as it wasn’t available in Switzerland.
This frame requires almost no tools except a chisel and elbow grease.
Quality-wide, the aluminum is a bit light but it’s good enough.
Also, be careful to have a minimum of 4cm deep where you want to put the mosquito net because once mounted, you need this space to be able to slide and position it. I had not seen this detail, and had to put it behind our rolling shutters, because the rail prevented me from putting it in front.
Here are the steps to set it up and mount it:
1/ The product
2/ The cut
The first part of the user manual specifies how to measure properly your window as well as how to cut the joints (a simple chisel does the trick) — it's these pieces of plastic that make the frame fit the dimensions of the window
3/ The assembly
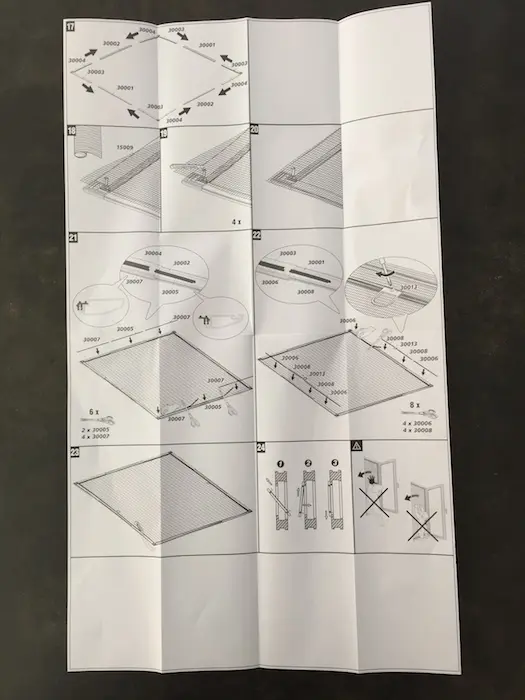
For the second part of the user manual, I recommend you to do the assembly flat on the ground, and to be careful to tighten the mosquito net
4/ The final result
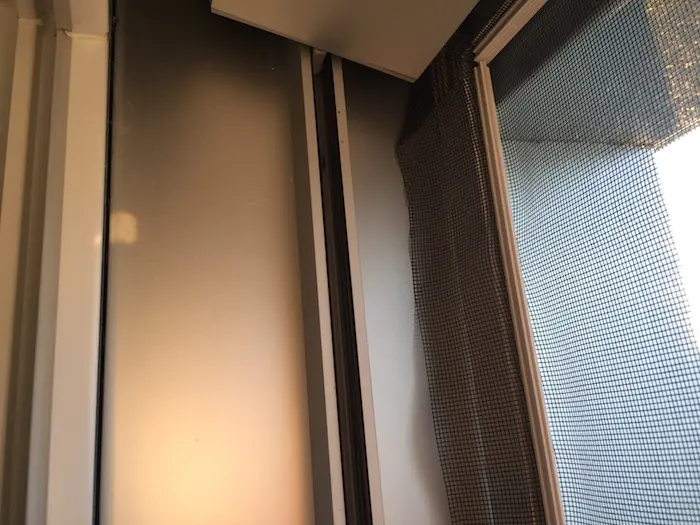
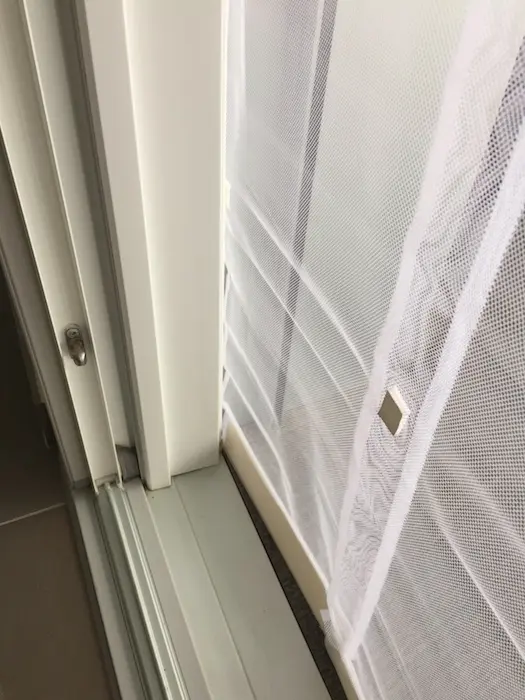
The bay window mosquito net with slat curtains
Our bay windows were the subject of long discussions, in order to know if we were splurging about CHF 2'000, or if we tried to find an alternative.
Having two bays, we ended up coming to the following conclusion: we could put a mosquito net (fixed) on a door, and enter only through the other door that we’d open/close each time we need. That way we could always let fresh air in, while being able to go in and out at our convenience.
I analyzed each Windhager door model but both the doors and the retractable nets did not seem to fit because of our beveled bay window and our rolling shutters.
We ended up with the standard door slat curtains model — I just see now that the one with velcro is the entry level, and there are some that look nicer (we’ll check this next year!)
In order for these CHF 29.90 to give us entire satisfaction, I added a MP personal touch to the setup:
1/ The product

2/ The mounting
The mounting is quite simple: you stick an adhesive tape, attach the slats, and then put the second velcro tape
3/ The MP touch
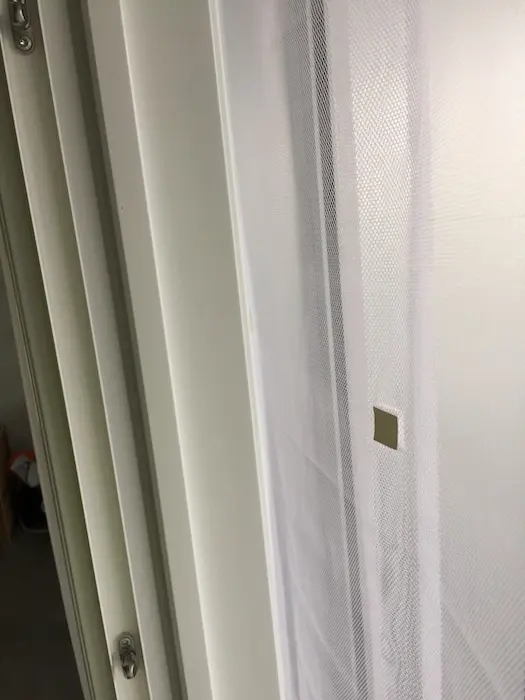
I added a square of velcro between the slats as well as on the wall on the right and on the left so that the slats do not move with the air, and that there is much less mosquitoes and flies that get in (but with the disadvantage that it locks this door)
4/ The result
A fresh summer, without soiling nor bites!
I’m already looking forward to this summer without fly or mosquito, enjoying our cool apartment with windows wide open, and that without breaking the bank - we talk about a cost price 7x cheaper still!
And that’s without taking into account the personal satisfaction I felt every time I finished setting up a net, both for the money saved and for the work done.
As you could read on social networks, this first project inspired me, so I decided to embark on a more complex one: the realization of my reading bench in my home office. Stay tuned!
How do you protect yourself against flies and mosquitoes if you live in the countryside?


Last updated: May 11, 2018