
I was finally able to get back to enjoying eBill 1 after my switch to neon as my primary Swiss digital bank.
After closing all my BCV accounts to switch to Zak, I was able to get the lowest fees for a Swiss online bank. But I had lost the handy eBill feature in the process.
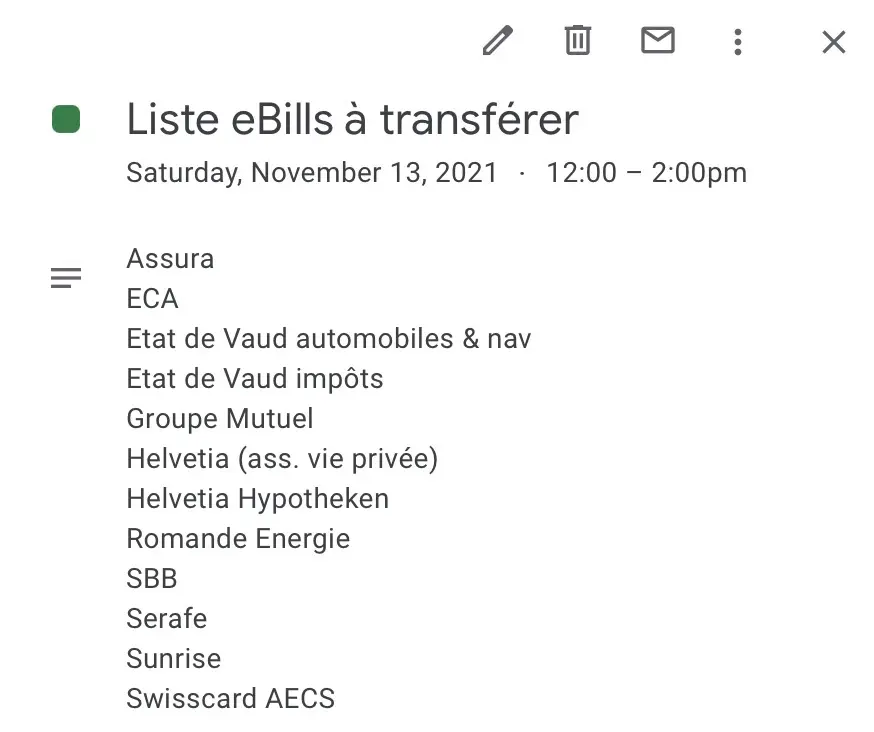
I took care to write down my list of eBills at the time, so that it would be easier to transfer them when the functionality would be available in my new low-cost Swiss bank (see my PS at the bottom of the article).
So here is how the eBill setup works with neon. All screenshots are in English, but as usual with the neon mobile app, you can switch to French or German depending on your native language.
(N.B. the app may not reflect the bonus directly, but it'll be taken into account, I checked with their support)
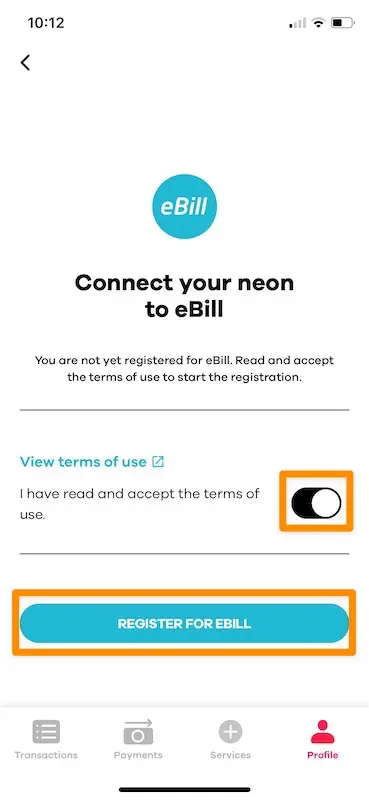
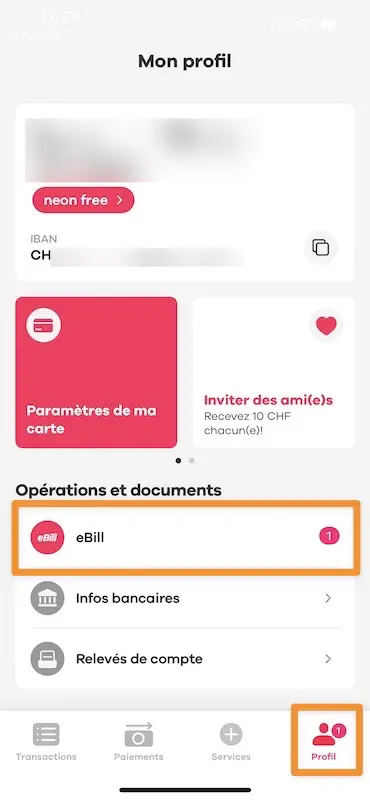
Step 1: Activate the neon eBill feature
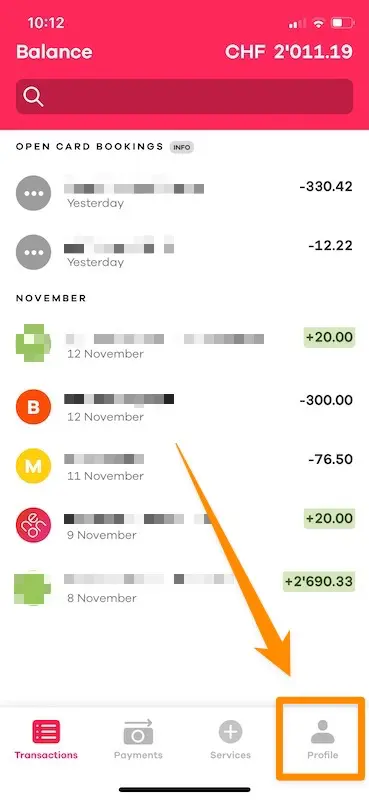
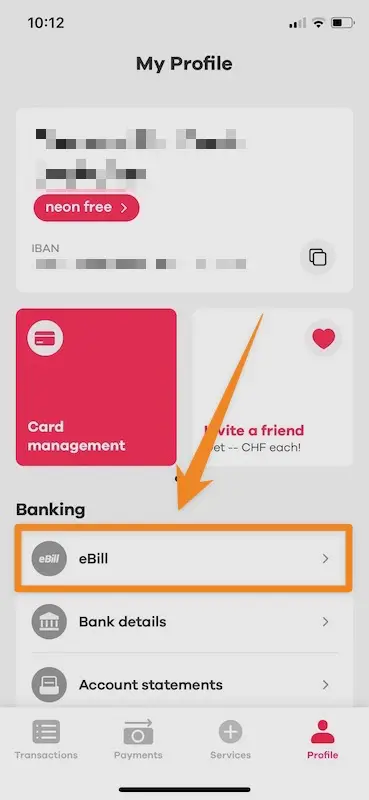
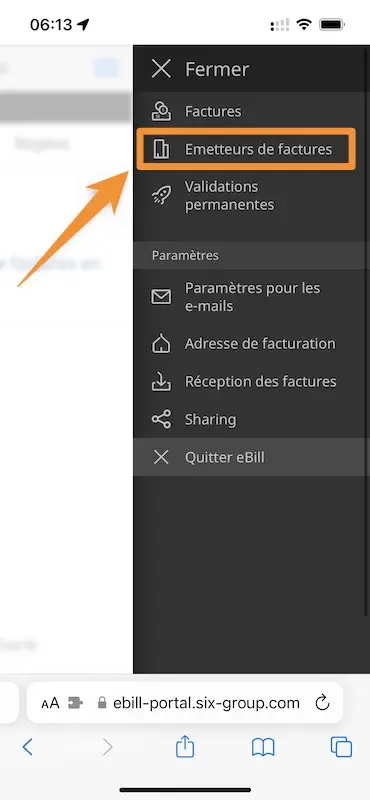
The first thing to do is to go to the “Profile” section of your neon mobile app, then click on the “eBill” button.
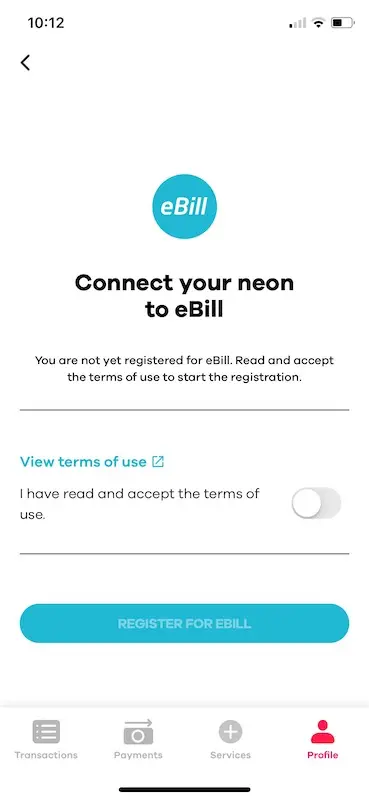
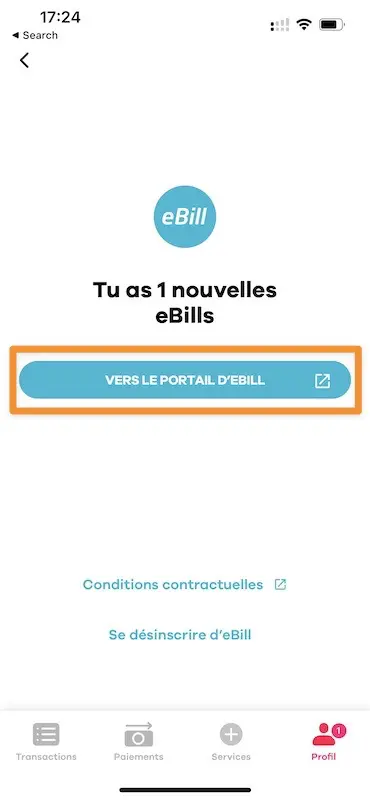
From here, you will be able to accept the eBill contractual conditions, and start the eBill registration process via neon (if you already have an eBill account — as I do — this is the same procedure):
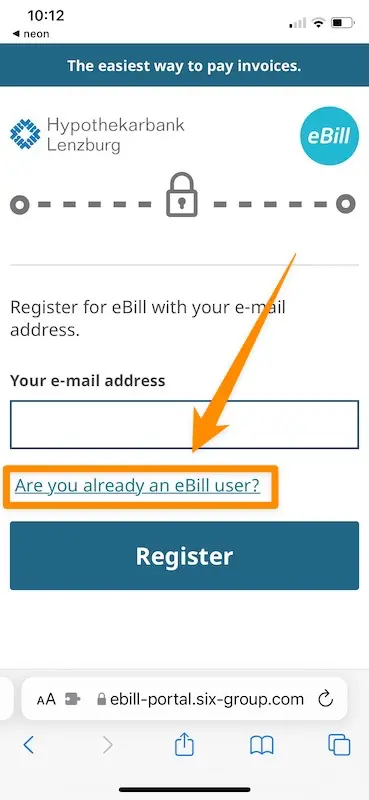
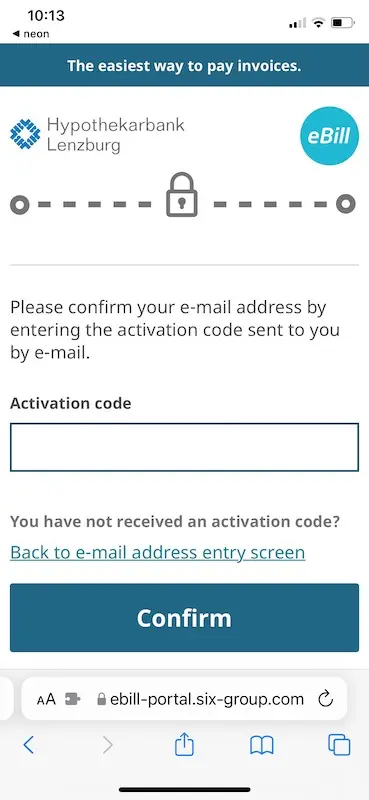
Once you have accepted the neon eBill contractual conditions, you will be redirected to the eBill area on your web browser.
Step 2: Register to eBill (or login to eBill with your login info)
On this eBill web page, you will be able to do one of two things:
- Sign up for eBill via neon if you don’t have an eBill account
- Use your eBill login and password if you are already an eBill user
In my case, I already have an eBill account (option 2), so I click on the link that says “I already have an eBill account”:
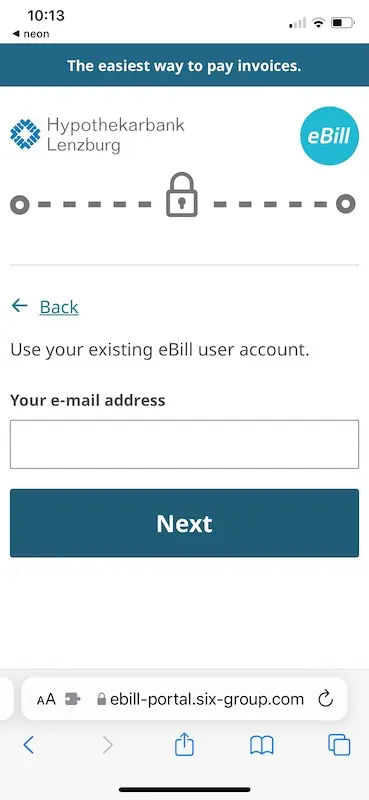
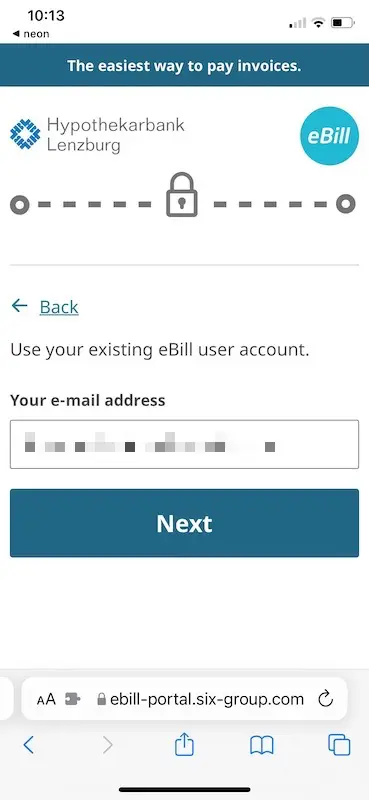
And that’s it, the neon eBill configuration is already finished!
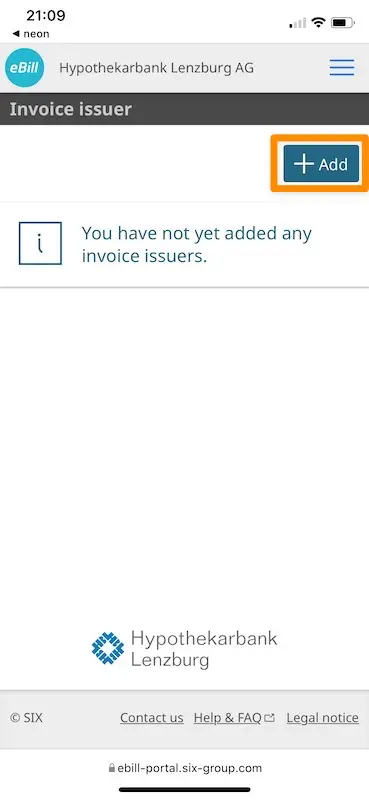
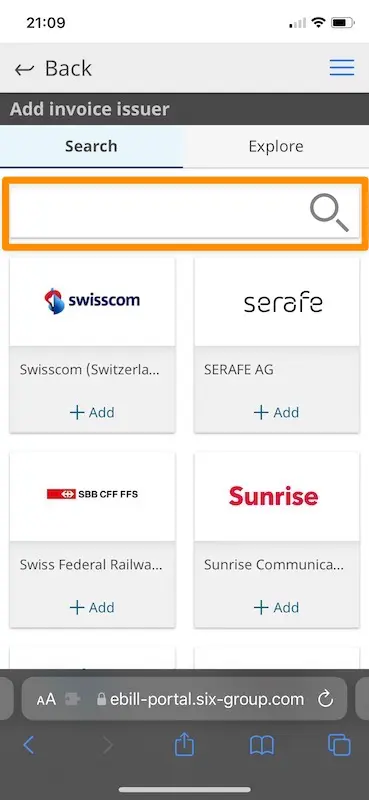
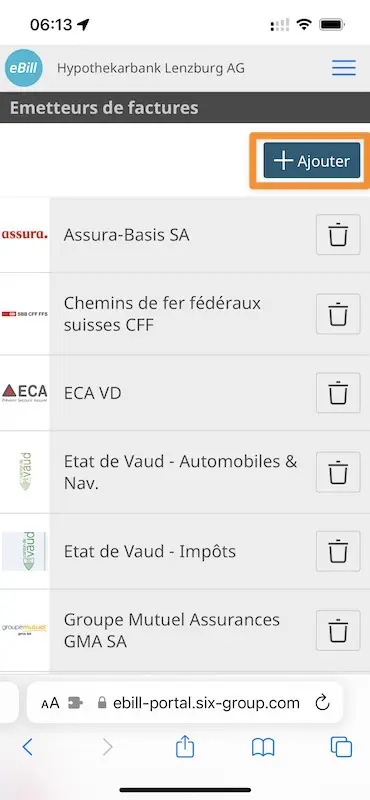
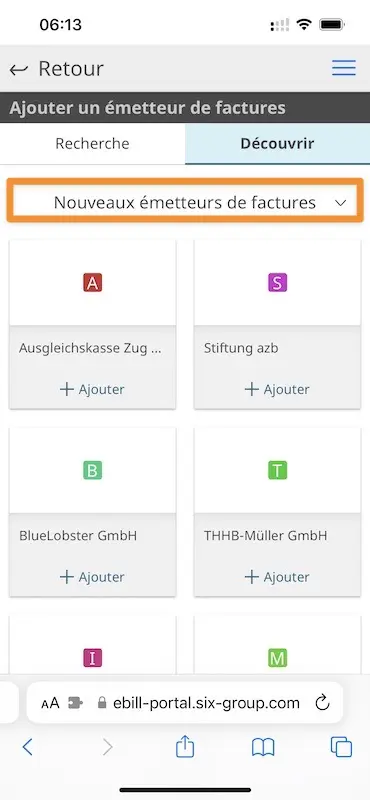
Step 3: Search and add your invoice issuers
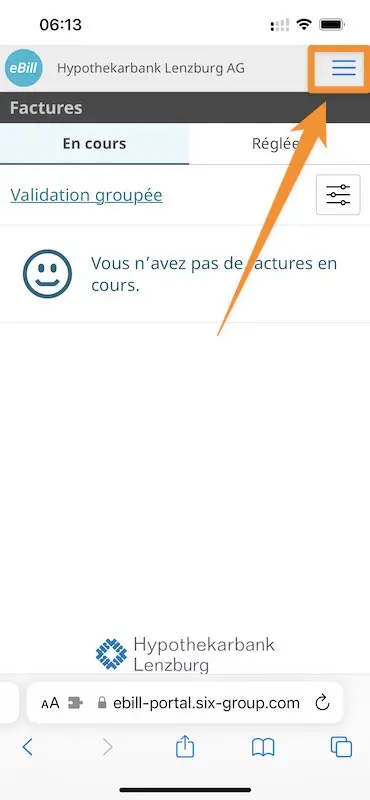
This is what your eBill neon space looks like when you have not chosen any invoice issuer:
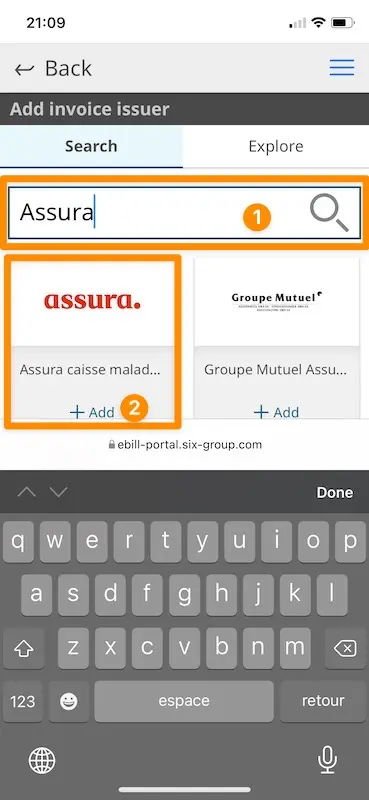
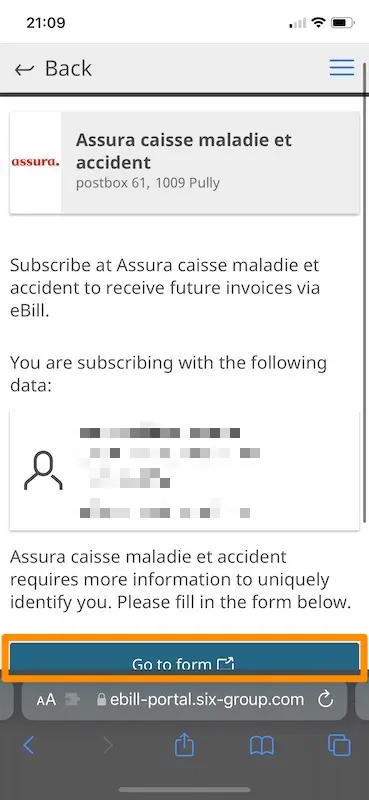
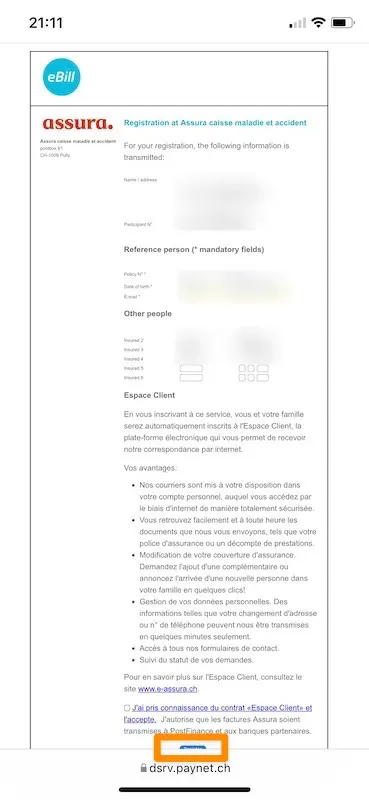
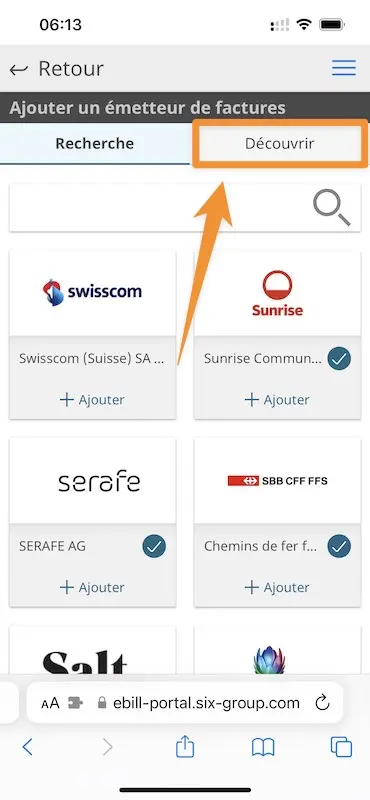
Then, I just had to search for my eBill issuers based on the list I had carefully kept. Here’s what it looks like with my Assura health insurance:
`
Once I added all the invoice issuers from my list, I went through my YNAB budget app to see my transactions from the last 2-3 months. I found a few recurring bills that didn’t have eBill at the time, so I was able to add them as well.
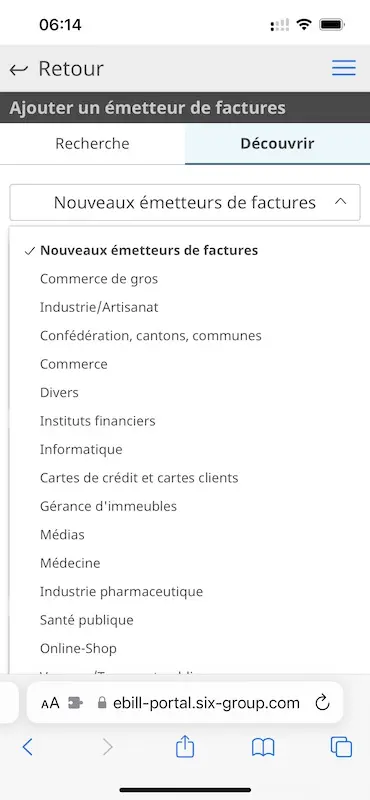
And then I spent a moment looking at the categories of invoice issuers to see if I had missed anything:
Step 4: New eBill neon payment in one click!
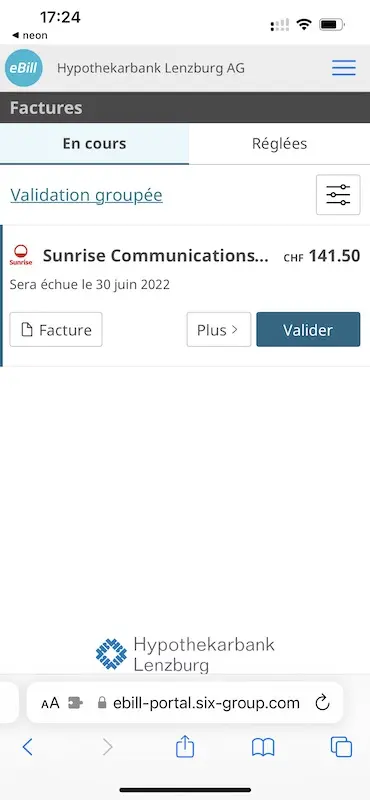
Once everything is set up, all you have to do is wait to see that little dot in the neon mobile app that informs you that you have a new eBill.
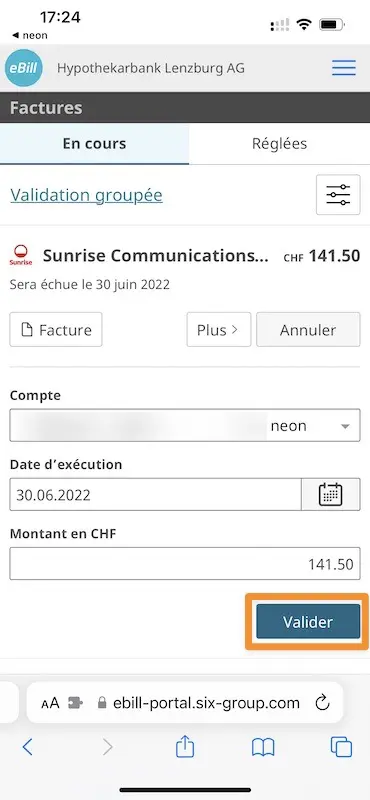
And in a few clicks, it’s paid for!
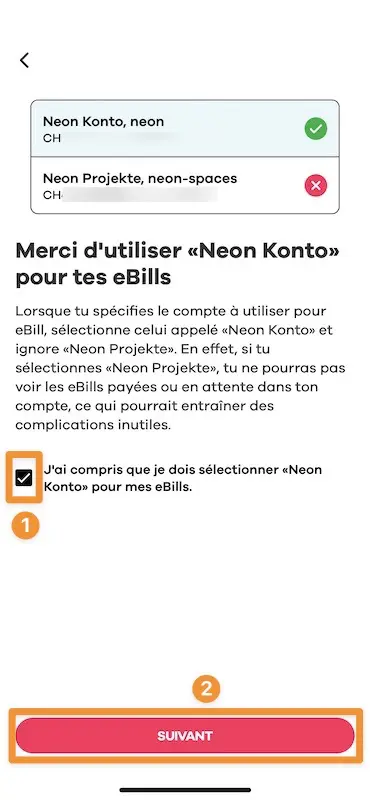
Make sure you understand that you have to choose the Neon Konto account (and not Neon Projekte which is for Spaces)
And now you are ready to go about your business while your bills are automatically sent to your e-banking system, without any paper or scan of the payment slip!
(N.B. the app may not reflect the bonus directly, but it’ll be taken into account, I checked with their support)
PS: don’t worry if you stayed on Zak, the same tutorial is currently being written ;)
if you have been on another planet for the last 10 years, the Swiss eBill system allows you to receive your bills digitally directly on your e-banking, and to pay them in one click! ↩︎
Mustachian: a repressed entrepreneur? FIRE, fear, …
3 lessons of wisdom and common sense from Warren...


Last updated: June 9, 2022